Understanding the Connectivity Options for POS Receipt Printers - USB, Ethernet, Serial Port

Why it’s Important to understand connectivity options for POS receipt printers
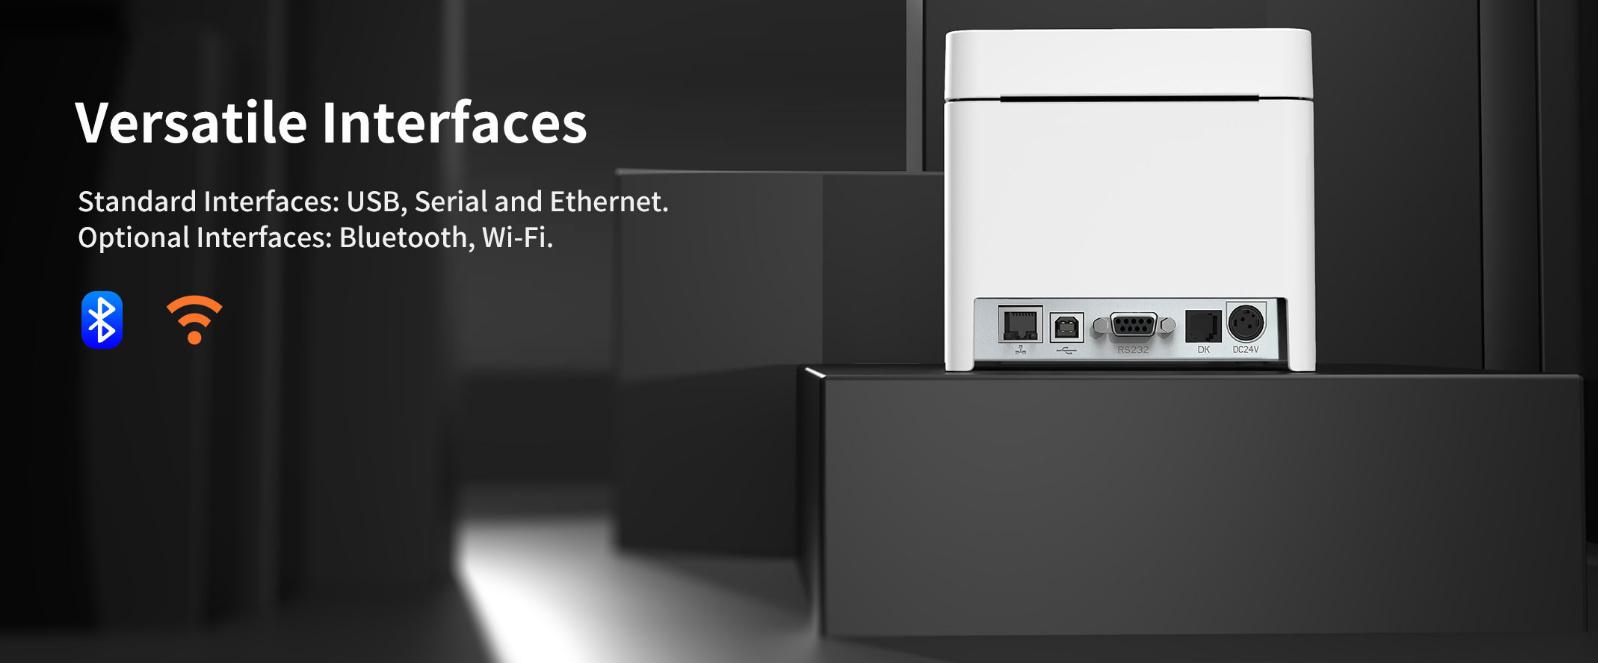
POS receipt printers can be connected to a POS system through several methods, including USB, Serial Port, Ethernet, Wi-Fi, and Bluetooth connections.
USB is the most common method, providing a simple and direct connection. Ethernet allows for network printing and is commonly used in retail or restaurant environments. Serial port connections, although less common, are a reliable option for older systems. Many POS printers also have wireless connectivity options, Wi-Fi, and Bluetooth which allow for greater mobility.
In the blog, we’ll be focusing on the wired connectivity options of POS printers: USB Connectivity, Ethernet Connectivity and Serial Port Connectivity. This knowledge can help you make an informed decision and choose a printer that best fits your business needs.
USB Connectivity
USB (Universal Serial Bus) connectivity is a common method used to connect POS (point-of-sale) receipt printers to a computer or other device. USB is a fast and convenient way to connect peripheral devices, such as receipt printers, to a computer or device.
To connect a POS receipt printer using USB, you’ll need a USB cable with a USB-A connector on one end and a USB-B connector on the other end, which is compatible with your printer. Once the cable is connected, the computer or device should automatically recognize the printer and install the necessary drivers.
Once the printer is connected, you can send data to it using standard USB communication protocols and commands. The specifics of how to communicate with the printer will depend on the make and model of the printer and the software you are using.Many POS receipt printers use the ESC/POS (Epson Standard Code for Point of Sale Systems) protocol, which provides a standard set of commands for controlling the printer and printing receipts, but different printers use many other protocols.
In general, connecting a POS receipt printer using USB is simple and straightforward, and many modern computers and devices have built-in support for USB peripherals. However, if you’re new to USB or have specific questions about a particular printer, it’s always a good idea to consult the printer’s manual or the manufacturer’s support resources for more information.
Ethernet Connectivity
Ethernet connectivity is a popular option for connecting POS (point-of-sale) receipt printers. With an Ethernet connection, the printer can be easily connected to a network and can communicate with a POS system or other devices on the network. This allows for faster and more reliable printing, as well as the ability to share the printer among multiple devices.
Ethernet-connected receipt printers typically have a built-in Ethernet port, which can be connected to a network using an Ethernet cable. Once the printer is connected to the network, it can be configured to work with a specific POS system or software. The setup process usually involves specifying the printer’s IP address, port number, and other settings to ensure that the printer is properly recognized and can communicate with the POS system.
In addition to offering reliable and fast printing, Ethernet connectivity also provides some other benefits for POS receipt printers, including the ability to remotely manage and monitor the printer, as well as the ability to perform firmware upgrades and other maintenance tasks over the network.
Overall, Ethernet connectivity is a great choice for POS receipt printers and is widely used in retail, hospitality, and other industries that require fast and reliable printing capabilities.
Serial Port Connectivity
POS (point-of-sale) receipt printers can be connected to a computer or other device using a serial port (RS-232) connection. Serial port connections are typically slower than USB or Ethernet connections, but they are still commonly used for receipt printers due to their reliability and compatibility with older systems.
To connect a POS receipt printer to a computer or device using a serial port connection, you’ll need a serial cable with a 9-pin or 25-pin connector on one end, and a matching connector on the other end that is compatible with your printer. You’ll also need to configure the serial port settings on the computer or device to match the settings required by the printer. This typically involves specifying the baud rate, data bits, parity, and stop bits.
Once the serial port connection is established, you can send data to the printer using standard serial communication commands and protocols. The specifics of how to communicate with the printer will depend on the make and model of the printer and the software you are using.
In general, connecting a POS receipt printer using a serial port connection is straightforward and can be done using standard serial communication tools and libraries available for most programming languages. However, if you’re new to serial communication or have specific questions about a particular printer, it’s always a good idea to consult the printer’s manual or the manufacturer’s support resources for more information.
Conclusion
Note that the connectivity options available to a particular receipt printer will depend on the specific model and manufacturer. Some printers may offer multiple connectivity options, while others may offer only one. So if you are finding a POS printer for your business, it’s important to figure out your needs first, and then talk to the POS printer distributors, IT provider, or manufacturer.
HPRT is a thermal POS printer manufacturer with 18-year experience in developing and customizing POS printers for global customers. Welcome system integrators, independent software vendors, OEM, and ODM partners. Let us know your needs, and HPRT delivers.


